I started my sitting with the rack. I had enough staples to do the handles. I figured that I would do them now, before I lost them somewhere. I'm going to go and get a whole box of them....they would also work well as ladder rungs on ship structures.
then, for some strange reason, I looked at the pilot house. I should put a pad on the flloor for the helmsman to stand on....hmmmmm, soooo empty.
So, I made a desk......one that would wrap around the back wall. my wife saw it...she liked it, but said it was too big and too high. o.k. I said, and went on another tangent. I figured that I would just make a rack for one of the side walls. the back windows were lower and I did not want to block them. I started with the front and back frames.
then, once I put in the side supports, I cut out three shelves, notching them at all four corners to allow for the framework. when I completed it, I put it in place to see how it looked.
notice it is just high enough so, not to block the rear windows. there was still room in there for something more...... let's see what I can do with the desk. it needs something along this line.... if I was going to use it, I would have to cut it down.
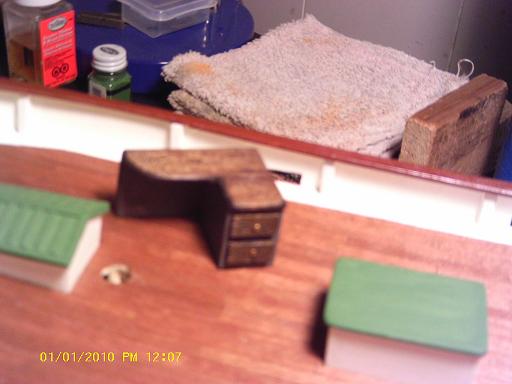
The wife liked this idea better! I felt good about going forward with them. I sanded both of the pieces, keeping the rack square and rounding edges of the desk.....keeping the rounded aperture. I then painted them with the dark drab.....a deep gray. I stained the top of the desk and gave it two coats of lacquer. I made a couple drawer fronts for the desk and stained them as well.
I used a couple of 7mm brad nails for the knobs, after the fronts got a couple coats of lacquer. soon, they were ready to fit into the pilot house to see how they looked. the rack looks empty, and the thought of hiding that desk top with a map, would cover over how nice it looks.
I tried my hand at making some rope coils with the hemp thread that I found at a craft store. I had also found some decorative beads used in making necklaces. I painted a few up, with the idea to make some buoys.


The eyelet on the other end was taken out and replaced with the sharp end of a toothpick. I am going to make some more, but I will substitute 10mm brad nails for the toothpicks. it was hard to get them all to be equal. I also found out that every fisherman used their buoys to identify themselves, a way to mark their territory. I need to make a batch of them that are all the same. so i don't waste the ones I made, I will put them in the rack. the other ones that i make, I will string them either on the outer pilot house wall, or lay them out along the deck somehow. I also had some craft's wire in my box of tricks. it bends easily and makes really nice eye bolts. to test it out, I made a hook and looped a string to it, pulling it to it's breaking point. it took a lot to undo it, so I re-did the double blocks that I had tied to the front of the pilot house. I think it looks much better, and I can adjust them so I can match up the pulley ropes to better define them.


I had told myself earlier in this build, that I wasn't going to do this. I figured that if I didn't bog myself down with extra stuff, the build would go much quicker. I guess i couldn't resist!